This post details how to setup a Mobile, Cross-Platform, App Development IDE in Windows.
Now that the website is up, I want to create my first App. The full set of requirements for this project can be found here. If you have not read them already, it might be worth the read. However, most folks reading this side of the blog will be interested in knowing how to develop and publish a Mobile App. While some of the information must cross, I am going to try and keep the actual App away from the rest of the blogging.
To help with that, any of the content on the technical side will have a “T” in the logo.
High Level Requirements (Duplicated for those who have not read them yet):
1) Touch the screen and a circle appears.
2) Hold your finger on the screen and the bubble grows
3) Press the screen again, and repeat, to add as many shapes as you want.
4) Press an existing Shape to have it “pop” or be removed from the screen.
5) Press an existing shape and drag it to move it across the screen.
That’s it. I would argue that #5 is not needed, but I want to test dragging on both iOS and Android.
The requirements are balanced with both toddlers, and beginning Mobile developers in mind. If we can teach a 2 year old to use each of the feautres on an iPad, it also allows a developer to get real examples for how to use those features/mechanics in other apps.
My Available Testing Platforms:
iOS – iPad Mini
Android – Galaxy S4 and the original Galaxy 10.1 Tablet
Windows 8
Why the Project is Documented:
I want to walk through the publication process for Google Play and iTunes Store so that my next endeavor can be easier.
I also want to document the process so that I (and others) can repeat this later.
Development Tools Used:
libGDX– libGDX is a cross platform, open source, full featured game development platform. It cross compiles Java to other platforms. I downloaded it two years ago (2012). It has come a long way.
Android SDK – Required for Android development. This is still compatible with eclipse, but I am not comfortable starting a new development endeavor with eclipse if support has been discontinued.
Android Studio – google put their support behind IntelliJ IDEA, so I am going to at least download it to keep the SDK package management up to date. I still think that libGDX will win because it offers cross-platform features that are not available in the Android Studio, however, I feel that I need to be familiar with both.
Development Tools Not Used:
eclipse – The IDE that I am familiar with professionally and personally for over 10 years – Support for this is being discontinued by Google, so I am choosing to NOT use eclipse
Getting started:
Setup the Development Environment – This is a complex and personal decision. With Microsoft recently announcing their free Visual Studio, I did reconsider my decision, but I am going to let others commit to a “new” platform before I make a decision if I should move to move away from open source tools that I at least have installed before. My second reason is I expect their to be more community documentation on the older technology, and since I generally new to Mobile development, I am hoping I can find more documentation available.
Two items of note:
1) I always start with a directory off of the C: drive. It makes my development easier if I have to port computers.
2) I always save the original downloads that I used to create a project. It makes life a lot easier if you have to create a new project (Or if you have to reinstall eclipse because something broke). The last reason for this is, what I call, original traceability. Consider two years from now you a curious where you downloaded that library or set of images. Keeping a little organization in the beginning helps dramatically.
While I have used all of the tools mentioned above before, I am going to download a clean copy of all of them and install them into new directories. Enough changes on a regular basis, that a year is a long time.
I have setup:
C:\Development – for my local folder for everything
C:\Development\Downloads – for all of the original copies of the tools I downloaded.
On to installing software
libGDX requires the Android SDK, so the SDK is next.
Enabling Developer Mode on my Android Devices
Sorry for the aside here, but the downloads are taking long enough I figured I would google (and document) how to enable development on my Android devices.
Galaxy S4:(Model:SCH-I545, Android 4.4.2
1. Settings->About Phone Touch “Android version” about 8x. This enables the developer menu
2. Settings->Developer options->USB Debugging
Galaxy 10.1 (Model: GT-P7510, Android 4.0.4): debugging with the PC can be enabled by going to
Settings->Developer options->USB Debugging
now I cannot say if I had selected the version last year 8x or not on the Tablet, but I expect I did.
Note: I am purposely avoiding my iPad at this point because I want to get everything up and running with Android first. I will port the game after it is working on these two devices.
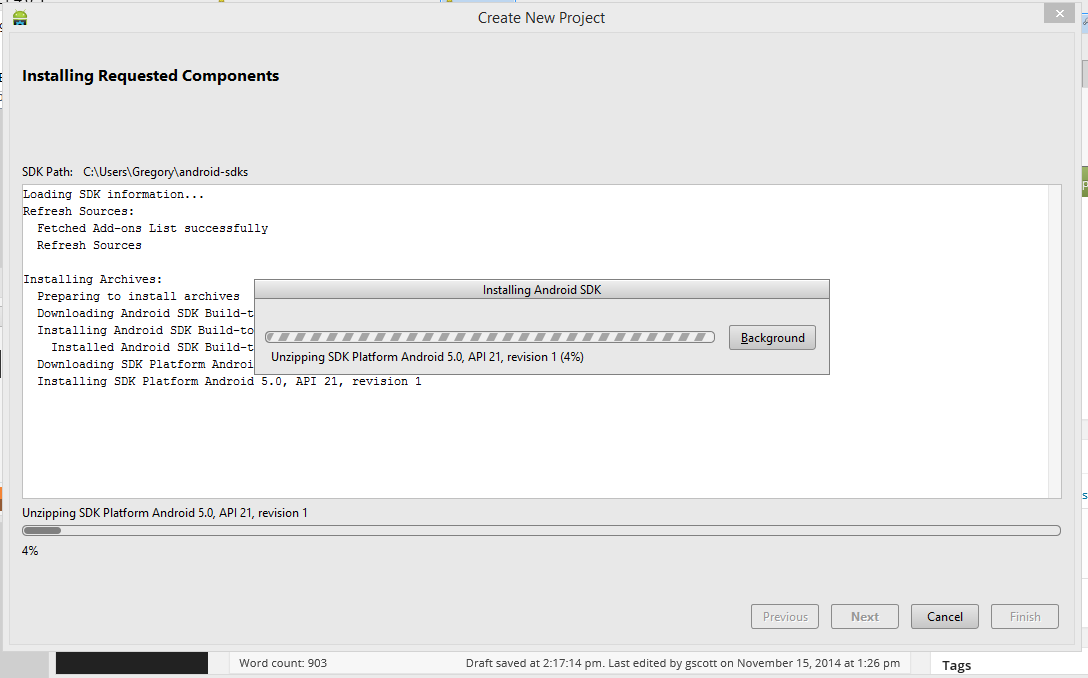
Android SDK install – Heading to the download page, it states that the eclipse SDK is not longer supported.
I guess I will download and install the Android Studio and see where that goes.
After a couple of clicks, I have found these instructions:
http://developer.android.com/sdk/installing/index.html?pkg=studio
The instructions are a little off. I unzipped the folder, but then had to find the exe. It was buried in the “bin” directory. I went with the studio64.exe. I expect that will work (since I have a 64 bit machine).
C:StoneMillDevelopmentandroid-studio-ide-135.1538390-windowsandroid-studiobinstudio64.exe
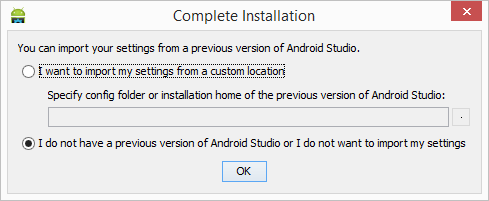
I have never installed this before, so I simple went with the new product setup:
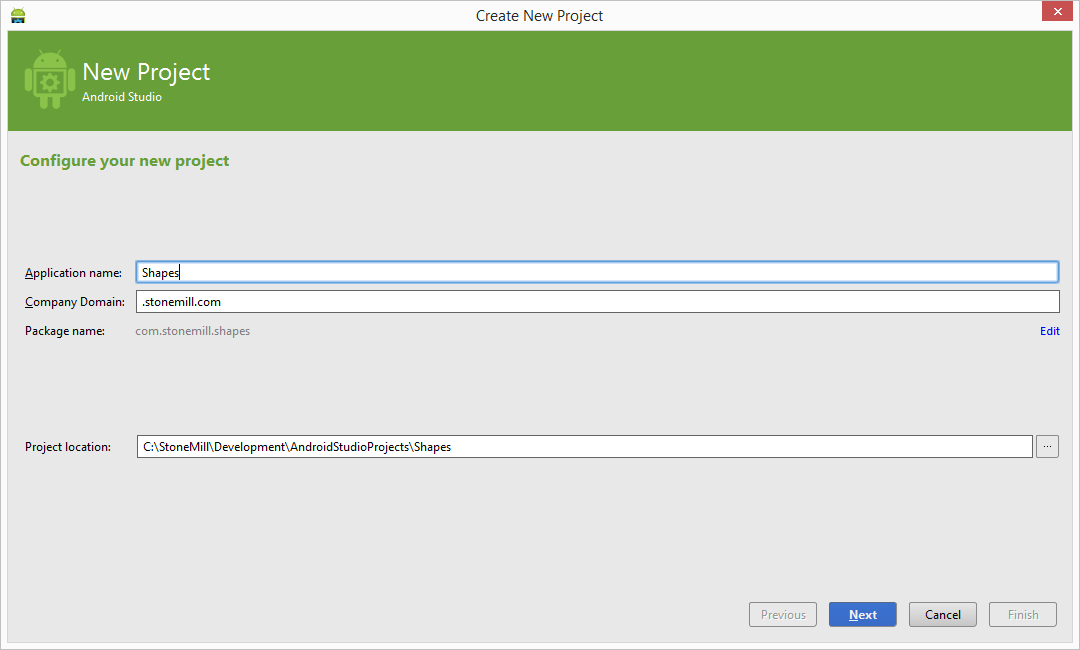
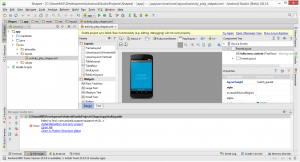
I also created a generic project in hopes of getting to the IDE’s “Desktop”
After the App launched, I went to the Tools->Android->SDK Manager and updated all of the libraries. and tried to launch the device. My S4 did not show up and, as I remembered, the emulator took so long, I thought the install was busted, before I remembered I had a phone to work with.
Back to the Phone:
I went back to the phone, plugged it into computer. I ended up waiting about two minutes for Windows to detect and install enough of the drivers such that the Windows Device Manager now recognized this as a device.
On the phone, I then changed the following settings in the “Developer options”
Stay Awake -> (now checked) – this seems to be important because maybe the device falls asleep and/or the debug does not work.
USB Debugging -> (still checked) –
Hitting play on in the SDK, everything now works.
The Tablet does not have a “Stay Awake” setting, and plugging it into the SKD just made it work (No screenshot. just imagine the abov one blown up to 10.1 inches and you get the idea).
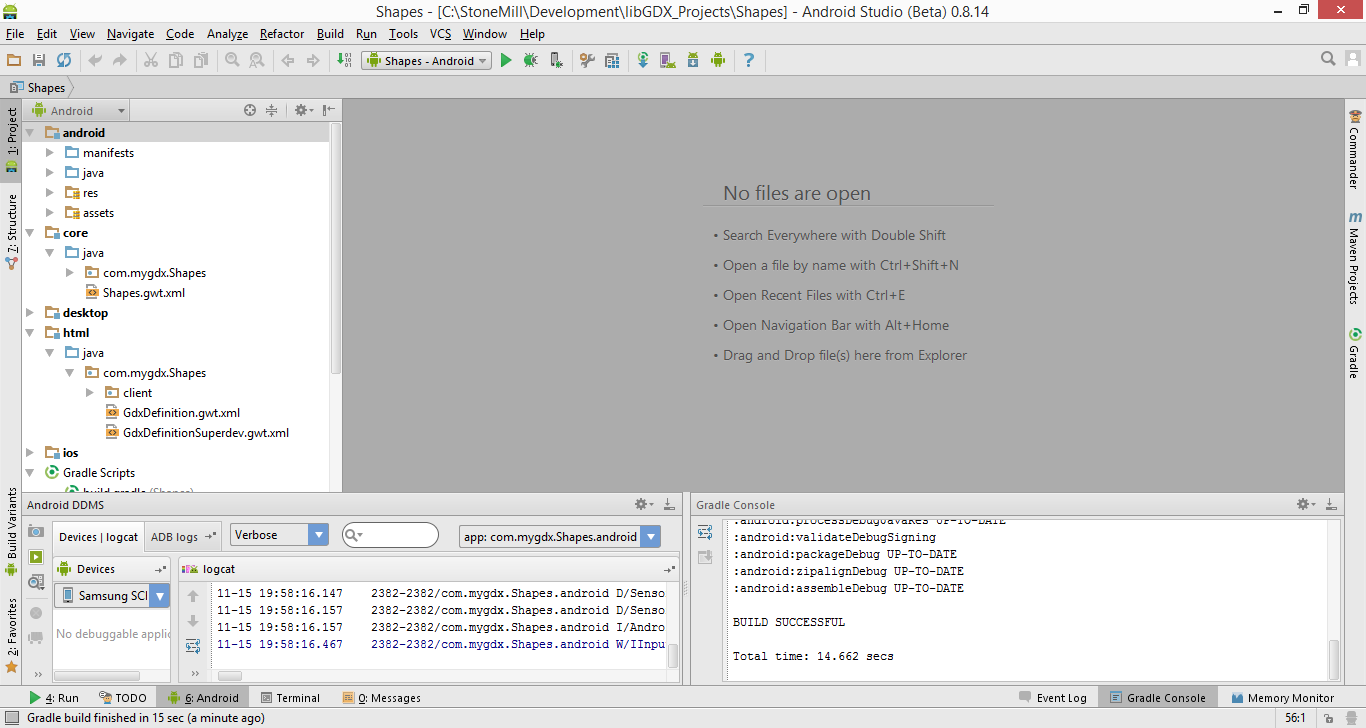
The Android Studio development environment is now up for both devices.
![]()
libGDX install – Lib GDX has matured very nicely. It currently uses Gradle for Continuous integration. Which is awesome, as it is even better than Maven. It also has a downloader that installs everything for you, so the see how that goes.
The hardest part was to determine where the android SDK was installed. It ended up being in my user directory, see image below.
To import to Intellij IDEA: File -> Import -> build.gradle
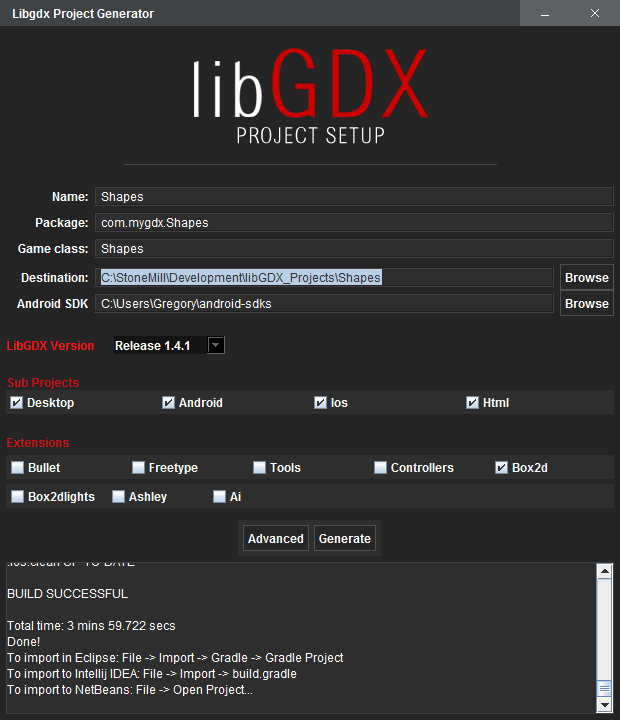
After hitting “Generate” it took approximately 4 minutes to say “Done!

Now after waiting for the build, I hit the “Play” button, I had to wait again.
Once the actual build was complete, I was able to choose my device to run the project on.
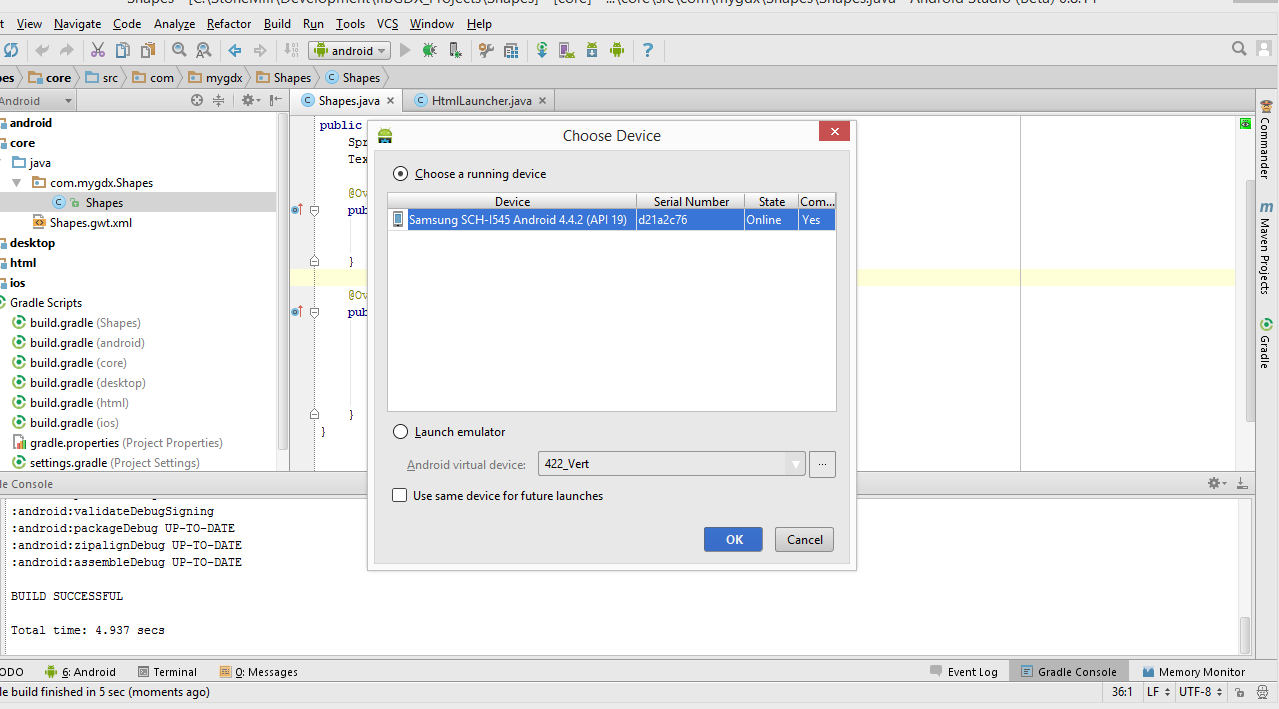
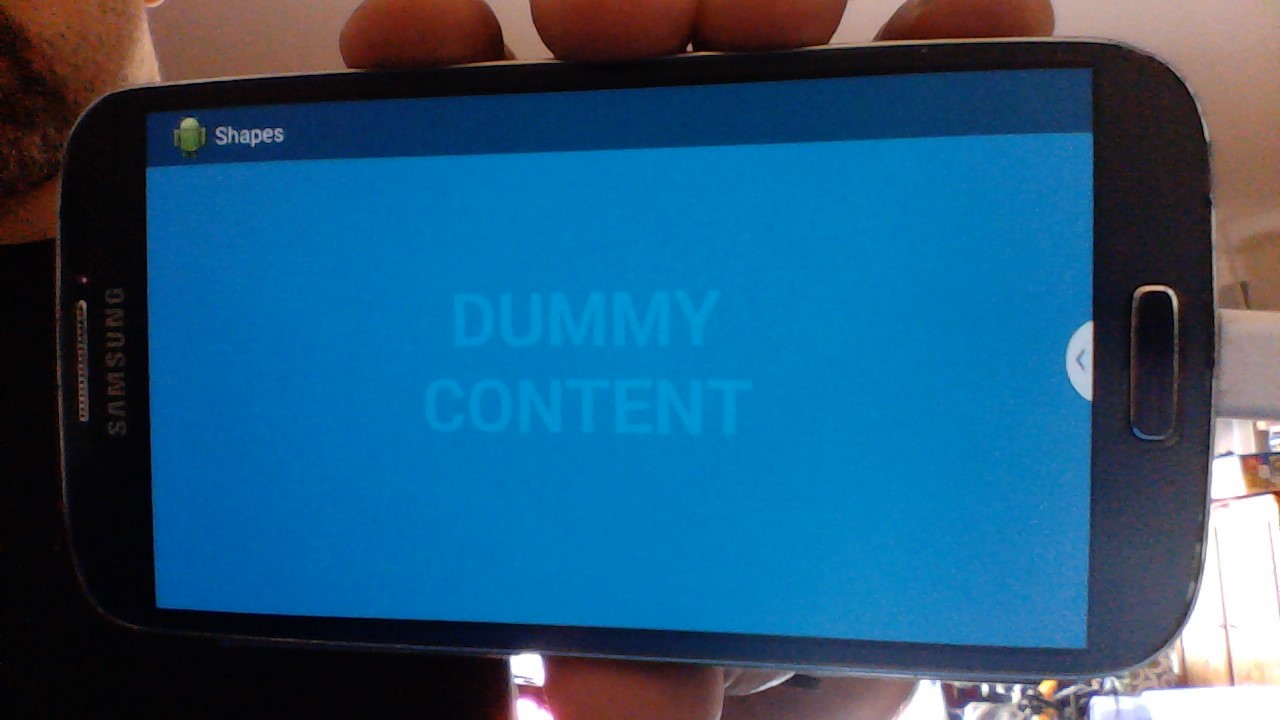
The default libGDX project shows on the Android device. No changes to the configuration were required.

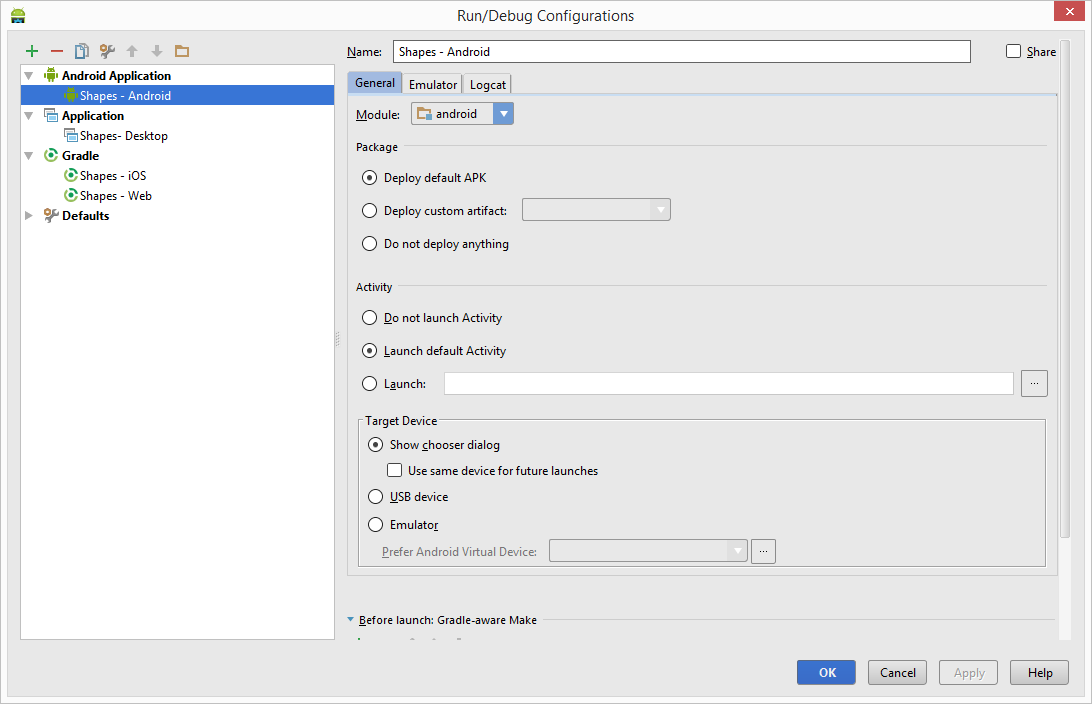
Here is a screenshot of the working run configuration for the android app:
Almost Done…
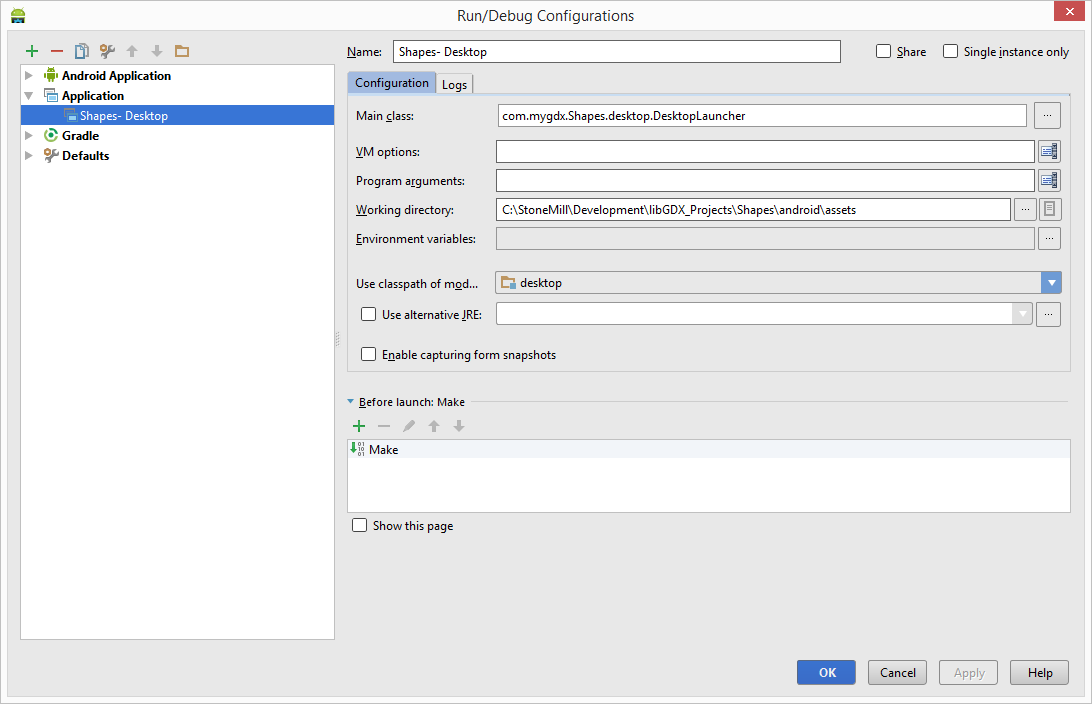
Desktop Configuration
The only oddity to this configuration is the working directory needs to be the androidassets directory
Here is a screenshot of the working run configuration for the desktop app:
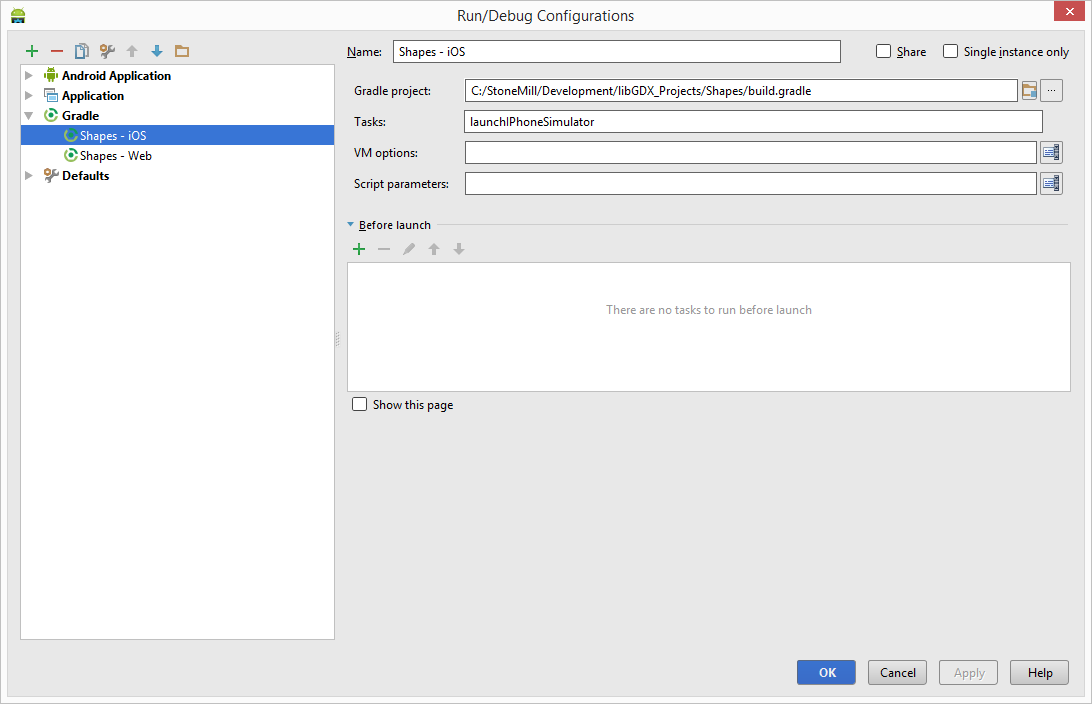
i-OS Configuration
Execution failed for task ‘:ios:launchIPhoneSimulator’.
> java.io.IOException: Cannot run program “xcode-select”: CreateProcess error=2, The system cannot find the file specified
googling turned up that I need to check the path in a terminal console
C:StoneMillDevelopmentlibGDX_ProjectsShapes2android>xcode-select –print-path
‘xcode-select’ is not recognized as an internal or external command,
operable program or batch file.
More googling and I came to the realization that xcode-select is only available on a Mac.
Additionally, with more googling, Apple required $99/year/platform and Mac PC/laptop is required.
Thanks Apple! – I’ll take those three hours of my life back next time I see you.
I am not sure if this configuration would work, but I thought I should at least document the end results of my two hours:
Web Configuration
One important note about the Web. It uses GWT, which stands for Google Web Toolkit. In my opinion, This is really not a very maintainable way to distribute professional code, but it works well if we get it for free here. The thought would be that we are really developing a Mobile App, and the Web is an interesting prototyping tool. For me personally, I am going to try to use this as way to let end users see the Applications that are still in development whiteout having to update App on Google Play or Apple’s App Store.
A second note is that the configuration on the libGDX site tutorial mentions that this had to be done with the command line. Fortunately, that seems to have been fixed, so no command line is needed at this point.
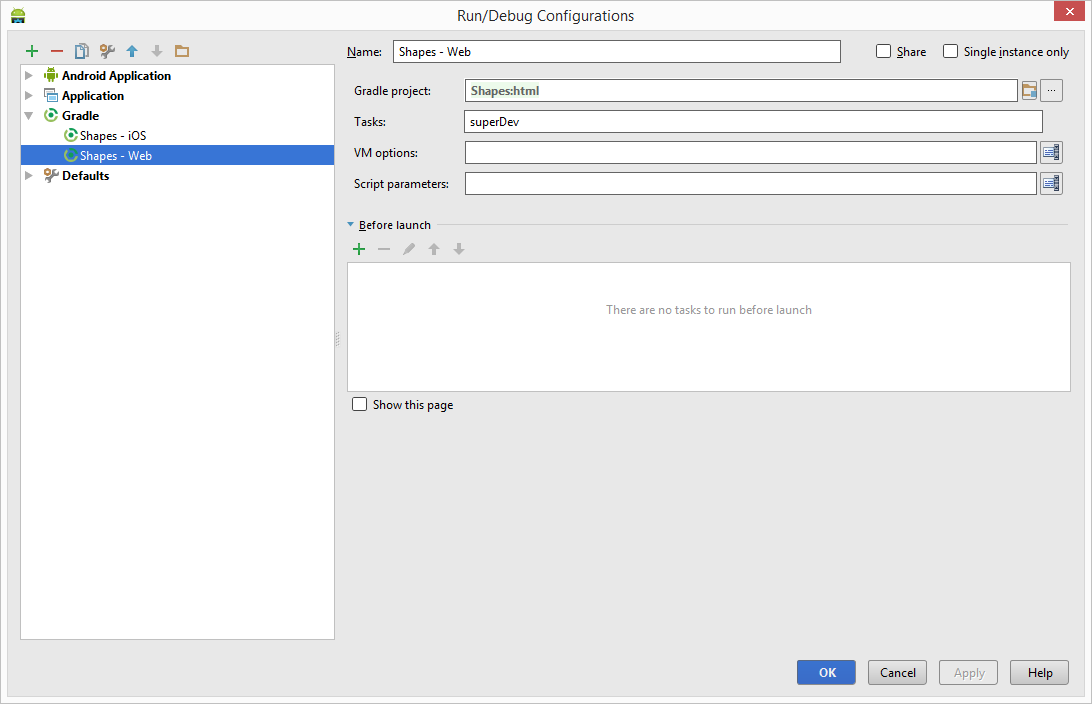
Here is a screenshot of the working run configuration for the web app:
Once it is compiled, you can reach the admin page at:
http://127.0.0.1:9876/
I actually liked going to the admin page first. Even if the war is deployed wrong, I expect this will still function.
The actual application is located at:
http://127.0.0.1:8080/html/
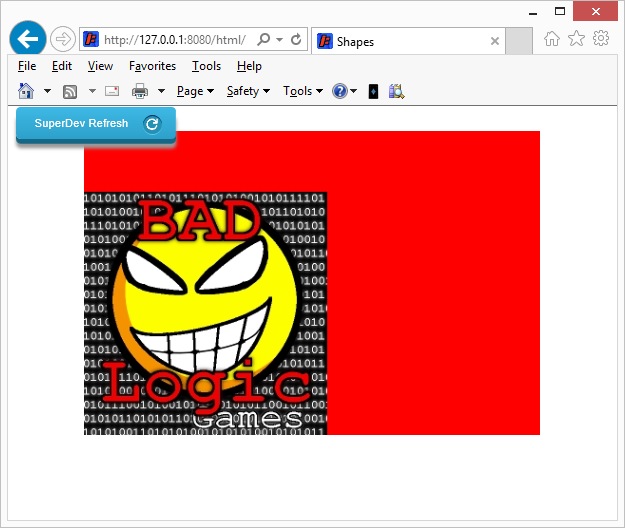
I forgot the /html/ ending and wasted about 20 minutes trying to figure out what I did wrong.
Closing Remarks
Determining whyI was going to use libGDX was not very well documented in this post. The real reason for this is I really want to remain OS agnostic on my first App. Originally I thought libGDX would allow me to develop in eclipse (which I know) and launch an iPhone App without owning a Mac. Both of those items, I have learned are poor assumptions today.
The new Android Studio works great out of the box and took more time to download than to actually get a demo app running on the S4 and Tablet.
It was also very cool that the Android Studio install also worked with libGDX without any issues.
I was annoyed that most of the configurations are saved per user, so my choice of changing all of the default directories caused some delay. I am not sure how this will impact demo projects from libGDX, but I hope not too much.
Also, many of the help sites I found had reasonable content, but were out of date just enough that it took about twice as long for me to configure each item as I thought it might. This is true for the libGDX, Android Studio, and other sites that I found on similar topics. No one website actually matched the exact versions that I was looking to do, so there was a fair amount of trial and error, but it was not too cumbersome.
The last item of note, is that Gradle seems to be incredibly powerful. Between the last time I downloaded and installed this set of software, I can say there have been a large number of significant improvements to the project’s respective configuration management. However, Gradle’s dynamic downloading dependencies from the web caused some of the compiles to take much, much, longer than I would have expected for a “hello world” application.
Overall, this was a very productive exercise, and I did not have to do much rework.
Now that I have a basic development environment up, I’ll continue the next post with creating the basic functionality of the app.