I have been thinking for a long time about creating website. A launching point of sorts, for whatever I want to do next.
After doing some research, I decided to use amazon web services, or AWS.
I logged into
http://www.aws.amazon.com/free
After selecting the free tier, I went though the basics, choosing basic options to maintain the free tier.
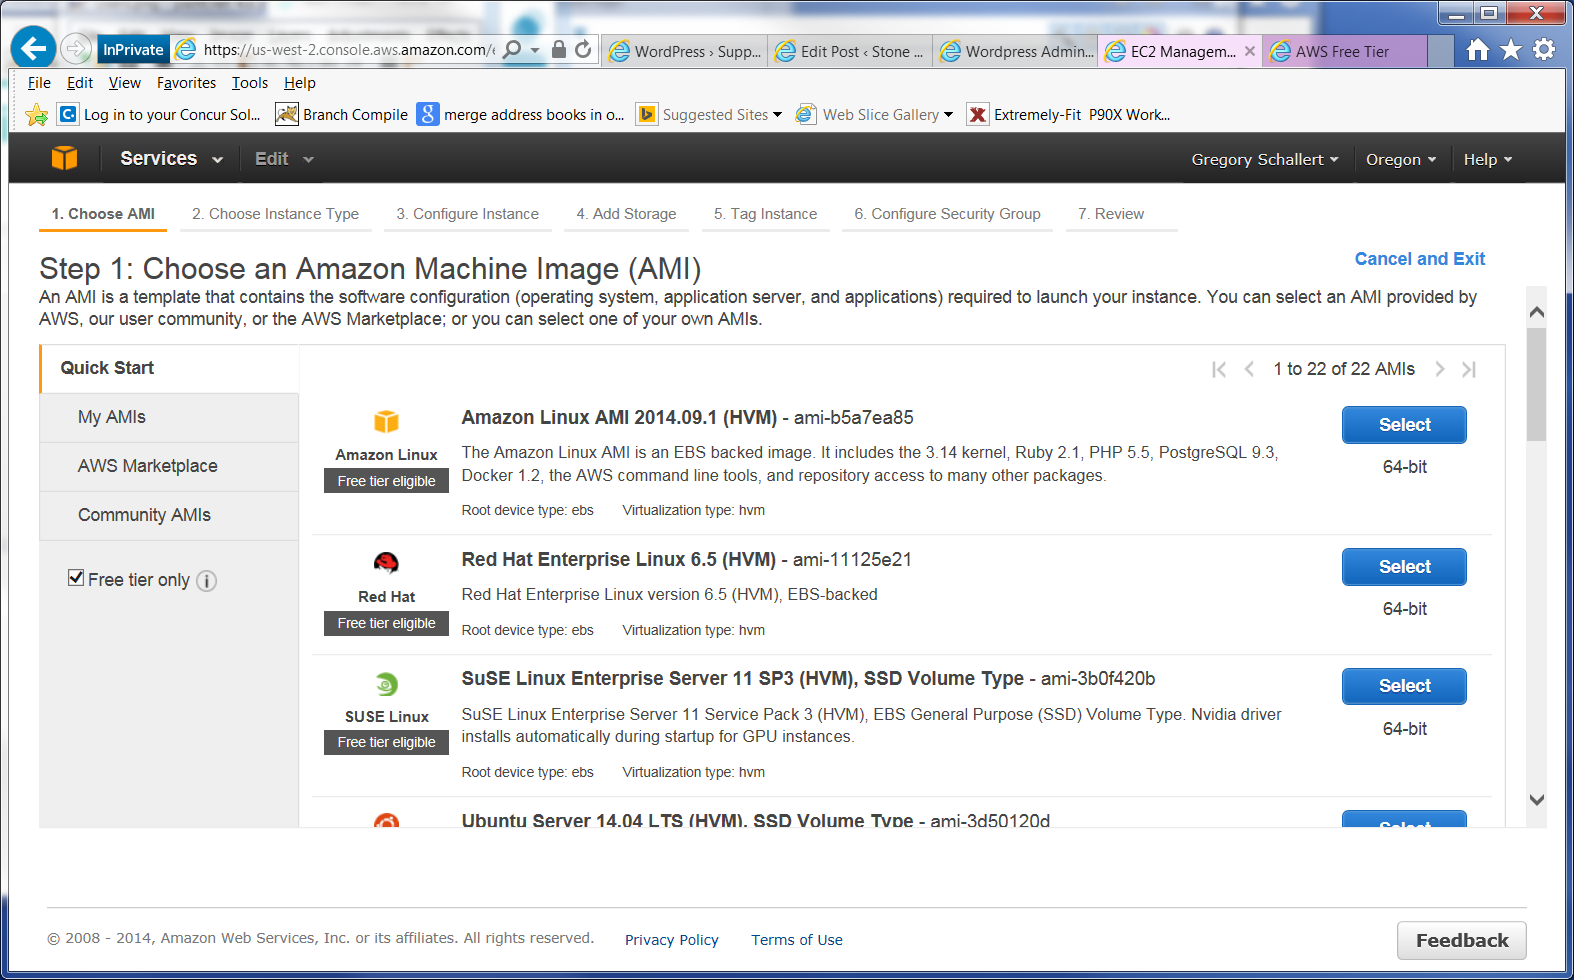
Once finished, the console was ready to go
Once the system was up and running, the next step was to determine what to do. I wanted to install software, but needed to connect to the system. Connecting via SSH seemed logical, but I needed to create a key that I could use to connected.
Luckily, amazon had a good tutorial on that one.
https://docs.aws.amazon.com/AWSEC2/latest/UserGuide/putty.html
I download putty,
http://www.chiark.greenend.org.uk/~sgtatham/putty/download.html
And tried to login, but failed because I needed to use PuTTYgen to convert the keys. Amazon’s page was light on instrusctions, so I found more here:
http://the.earth.li/~sgtatham/putty/0.60/htmldoc/Chapter8.html#pubkey-puttygen
This allowed me to login. However the default user was ec2user. I did not have all of the permissions I needed, so I wanted to determine how to switch to root. After some googling:
$sudo su -
will create a root console.
Now that I was able to do that. I started looking at how to install WordPress.
Installing WordPress
The first time I installed wordpress, I did it by downloading and installing the .zip files. This worked, but I am editing the post to include using a package manager.
This is the best link I found using the package manager. The biggest thing was finding a Linux distribution that is compatible with AWS, then getting the rpm from that directory.
The biggest key is the following instructions:
$ sudo yum-config-manager --enable epel
The first command enables the repository. If that does not work, then you have to manually add the repository
If that does not work, then you can could also add the repository manually to
vi /etc/yum.repos.d/epel.repo
Install the rpm repository for fedoria. Keep in mind your architecture may be different. http://dl.fedoraproject.org/pub/epel/ has all the options. If you have trouble, you can also check out this link directly from Fedora:
https://fedoraproject.org/wiki/EPEL/FAQ#How_can_I_install_the_packages_from_the_EPEL_software_repository.3F
Once the repository has been added , you simply type:
$sudo yum install wordpress
Once this is installed, you want to know where it is located.
$sudo rpm -ql
This told me the location for wordpress was in /usr/share/wordpress.
The default directory for apache was /var/www/html. I needed to change that to /var/www/html/wordpress. I first created a sym link to the new wordpress directory
#sudo ln -s /usr/share/wordpress /var/www/html/wordpress
Then I edited the /etc/httpd/conf/httpd.conf and changed the Document Root to the new folder
#
# DocumentRoot: The directory out of which you will serve your
# documents. By default, all requests are taken from this directory, but
# symbolic links and aliases may be used to point to other locations.
#
DocumentRoot "/var/www/html/wordpress"
Installing wordpress with a zip.
Below are two links that describe how to install wordpress with the zip directly from a zip. Again, I would suggest the package manager, but since I had this document, I left the information.
http://blog.adlibre.org/2010/03/10/how-to-install-wordpress-on-centos-5-in-five-minutes-flat/
https://www.digitalocean.com/community/tutorials/how-to-install-wordpress-on-centos-6–2
MySQL
I ran into a couple of issues creating custom databases in MySQL… or so I thought. I was running into the apache service not be modifiable. Editing the httpd.conf fixed that.
$vi /etc/httpd/conf/httpd.conf

<Directory />
Options FollowSymLinks
AllowOverride All
</Directory>
WordPress was still not working, so more googling uncovered that I had missed the installing php-gd and a restart of httpd helped
$yum install php-gd
$service httpd restart
However, I was still unable to get a webpage up. The next idea was look a MySQL. I decided to look at the user manual to create a custom user for my site (check out the next 2URLs before proceeding:
http://dev.mysql.com/doc/refman/5.5/en/adding-users.html
$mysql -u root -p
Create a wordpress database:
MySQL> CREATE DATABASE wordpress;
Query OK, 1 row affected (0.00 sec)
Create the new user and password:
MySQL>CREATE USER 'monty'@'localhost' IDENTIFIED BY 'some_pass';
Give the user correct privileges to just the wordpress database:
MySQL> GRANT ALL PRIVILEGES ON wordpress.* TO wordpressuser@localhost IDENTIFIED BY 'password';
Query OK, 0 rows affected (0.00 sec)
Tell MySQL to reload:
MySQL> FLUSH PRIVILEGES;
Query OK, 0 rows affected (0.00 sec)
Exit out of MySQL:
MySQL> exit
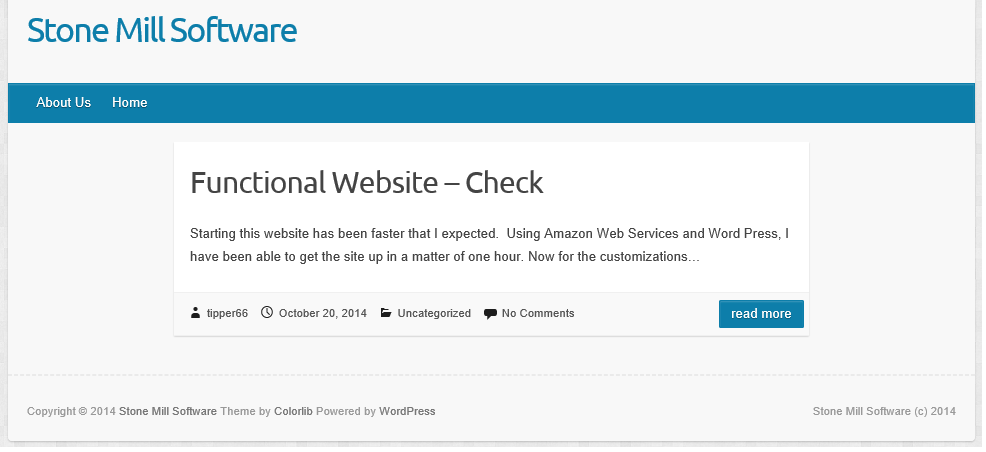
Following the 5 minute WordPress install, I was able to get the basic website up.
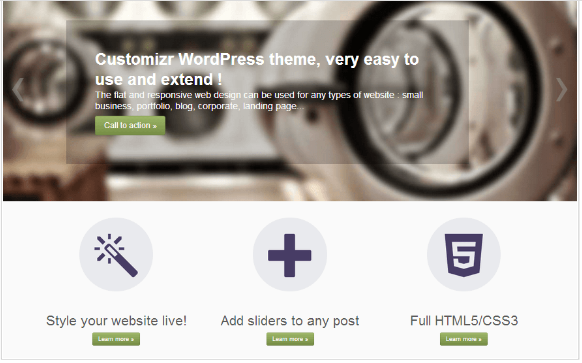
Once that was ready, I now needed to upload files my custom files, themes, etc. to my new wordpress site. Unfortunately, AWS did not allow me to place the files directly where the needed to go using the browser on my local PC. That means I needed another solution to transfer files to my AWS server.
Back to the amazon website, and found this article:
http://codex.wordpress.org/Using_Themes#Selecting_the_Active_Theme
… and this set of text:
Using an FTP client to access your host web server, create a directory to save your Theme in the wp-content/themes directory provided by WordPress. For example, a Theme named Test should be in wp-content/themes/test.
Now the theme can be changed:
And I was ready to start this blog. The whole item took me less that one evening of work in between dinner and kids. Kudos to AWS and WordPress for making this so easy.
Other Links
I also found another good link on the Amazon Web Site for more information:
http://ec2-downloads.s3.amazonaws.com/AmazonLinuxAMIUserGuide.pdf